 Flower Love

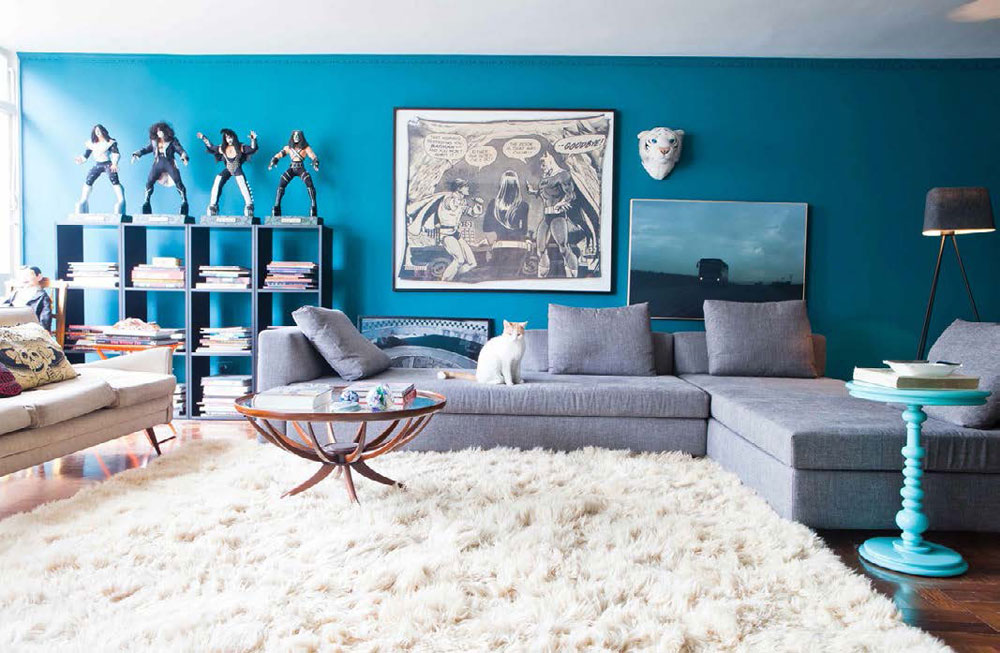
If you are thinking of redecorating your walls, paint is a great alternative to wallpaper. There are numerous painting techniques you can use to add color and texture to a room. Experimenting with different creative effects can lead to a result that not only looks beautiful, but also adds character and value to your home. Fashions in painting techniques are changing, but there is an increasing trend for homeowners to experiment with various creative effects.
Most wall painting techniques are easy to achieve, yet extremely effective. Wall paint dries quickly, and with hard work and a little imagination, you can get an impressive result in just a day. Good preparation is key to a result that you want to demonstrate. Read the repainting tips below for inspiration.
Preparation:
When preparing to repaint walls, consider the following:
- Fill in all of the holes, then sand them so that the walls are reasonably smooth.
- Cover any nearby furniture with a large sheet or duster.
- Use duct tape or decorative tape if you want sharp edges.
- Make sure you have enough paint put together to get the necessary tools like rollers or rags.
- First practice on a flat surface such as a piece of board or map.
Choose a colour:
Think about the space you are decorating and look at the natural light available. Decide whether your wall will blend in with the room or stand out as a feature. Would you like a natural effect or something more dramatic? The color you choose can make a room appear smaller or larger.
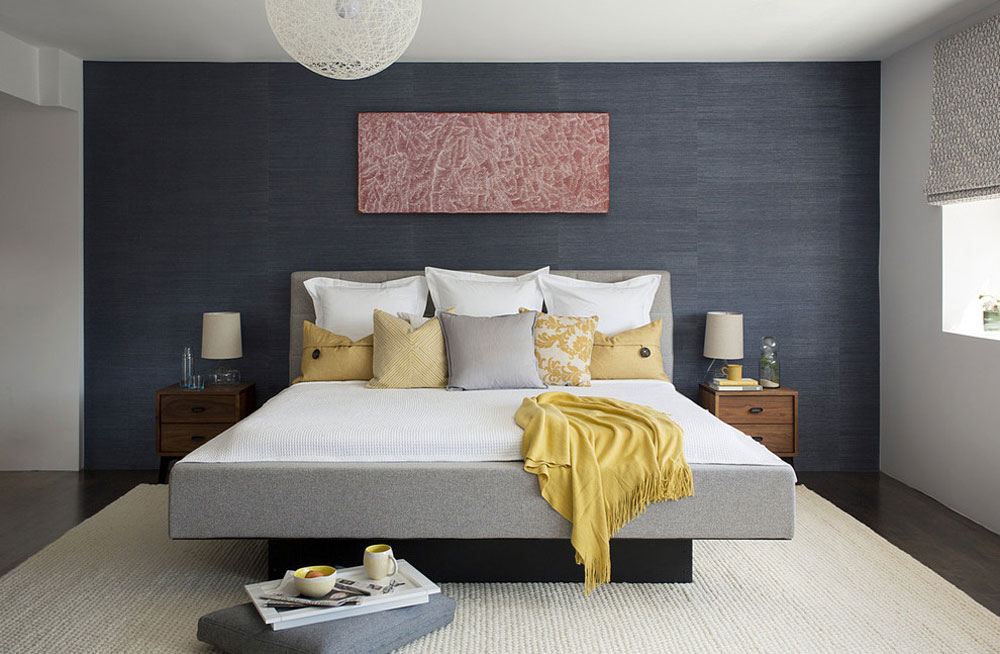
Use color to create the mood you want in the room. Warm colors make a room feel inviting, while soft blues and greens create a relaxing effect. Purples and reds in a bedroom can add a chic contemporary look. Use different shades of the same color on adjacent walls if you want them to blend in harmoniously.
Stencils:
Stenciling is an easy way to lighten a smooth wall. This painting technique is especially effective in a child’s room but can be used in any room. You can buy stencils at craft or hardware stores, or you can make your own by cutting the shape you choose from a strong card. Plan your spacing in advance to make sure your stencils are even. Put a small amount of paint on a brush, hold the brush at right angles to the wall, and apply it with a tapping motion. A simple alternative is to spray the paint. However, make sure that any walls that you don’t want to spray are well covered.
Glaze:
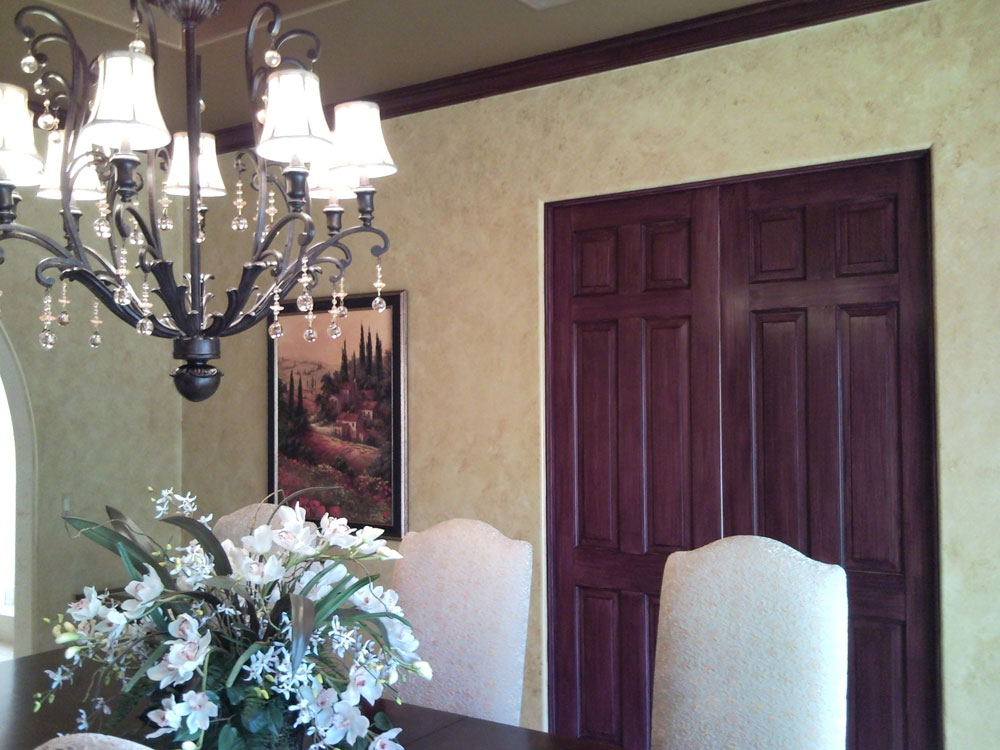
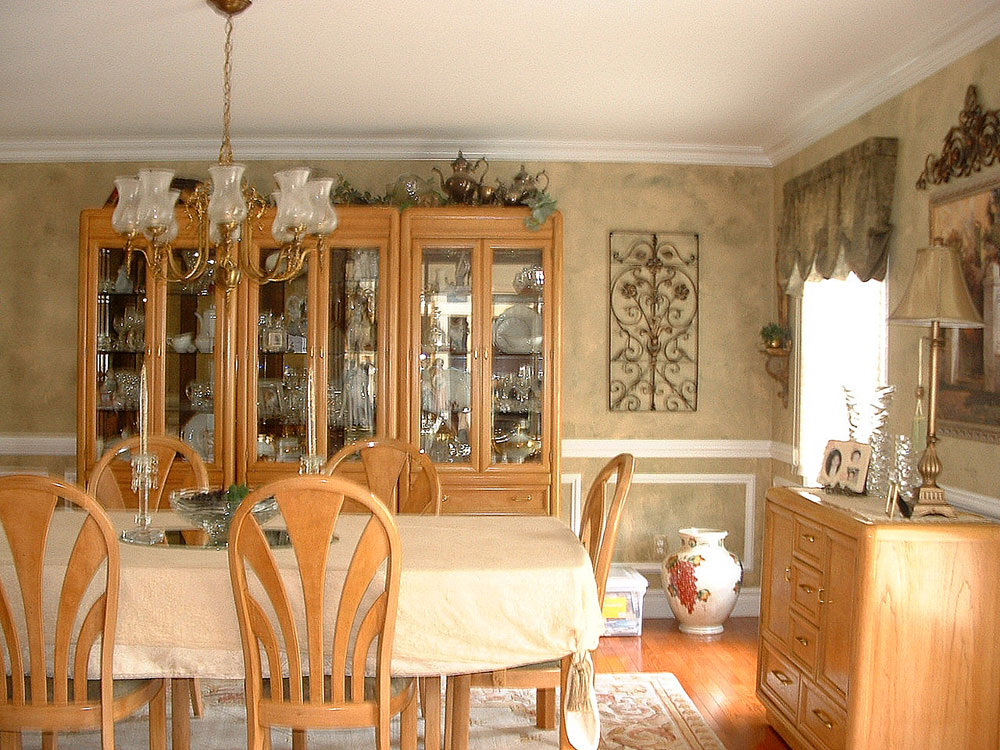
A glaze is a milky liquid that is applied to a base color. It stays wet longer than paint, giving you time to create decorative effects. The glaze needs to contrast with the base coat and works best when you use the same color in a darker or lighter shade. Correct drying of the glaze takes at least 24 hours. So avoid touching them during this time, otherwise there is a risk that the effect will be compromised.
Scumble:
Scumble is a glazing technique that involves painting a translucent coating very thinly over dry paint of another color. The foam glaze is then manipulated to allow some of the underlying paint to show through. This is usually used on lighter shades of color and can create an atmospheric, cloudy effect. You may need to experiment to get the right consistency, which should be creamy and not too runny.
Sponge:
Sponge is a popular art painting effect that is easy to use even for someone new to painting techniques. This is a really great way to hide walls that are rough or uneven. Start with a firm primer and use a damp sponge to apply a different color glaze. Using a natural sponge has a less dense effect than a synthetic sponge. Practice before you decide which effect you prefer. If you choose to use a synthetic sponge, cut it into a more irregular shape for better effect. Using a third color can give an even more structured impression. However, avoid too high-contrast color tones.
Ragging:

Ragging is a technique similar to sponging that uses a damp rag to apply the glaze. You can use any old rag, shred it into a sausage mold or ball, and then roll it in the paint before applying it to the wall. The effect is more textured than wiping, with the folds and ridges of the flap adding depth. Reshaping the flap or using a new flap during the process will increase the random effect. If necessary, you can soften sharp edges with a brush. This process can be messy, so wearing protective gloves is advisable.
Frottage:
This is a decorative technique that adds texture and is achieved by applying glaze to the wall with a crumpled piece of paper. Alternatively, you can apply the wet glaze directly to the wall and then remove it with the paper. Peeling the paper off the wall creates a nice mottled effect. You can use any type of paper, but avoid anything that has ink on it, such as paper. B. Newspaper. You can experiment with lining paper, tissue paper, or even plastic wrap to get the effect you want. If you want to change the finished look, you can hold a small piece of paper over the wall and then use a brush to brush the glaze over it.
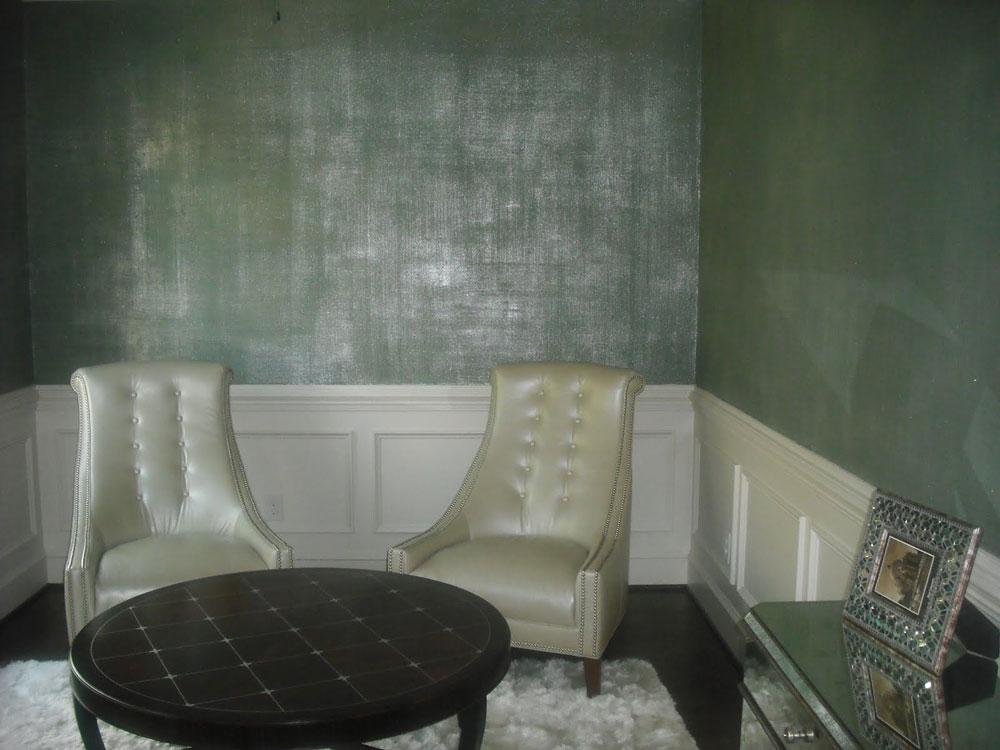
Verdi Gris:
This is a metallic paint effect that aims to restore the blue-green color of copper and brass as it ages and exposed to the elements. This look is particularly suitable for garden rooms with lots of light. The technique is harder to achieve than some of the others, but it’s worth trying out if you want an aged look. Metallic effects on large areas are best created with a roller to avoid brush marks.
Grain size:
The grain is intended to simulate the appearance of wood. A glaze is applied to a primer and then a comb is drawn over the surface to create a grainy effect. You can try using combs of different sizes or made of different materials to change the look. If you’re feeling ambitious, try pulling into the grain to create knots like you would see in natural wood. Use the direction of the grain to make a wall appear wider or narrower – horizontal to wide and vertical to narrow.
Marbling:
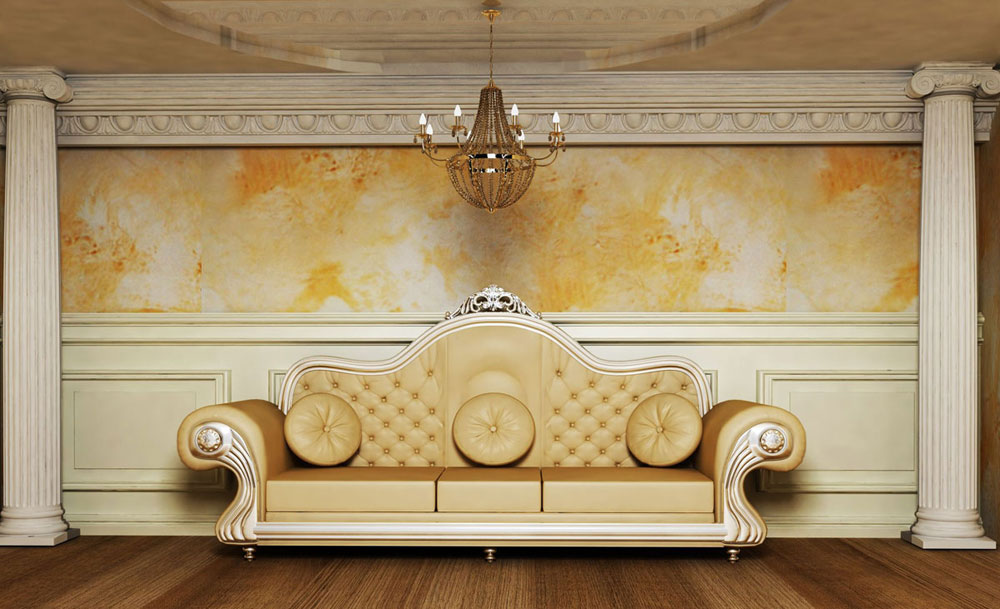
This technique, as the name suggests, mimics the appearance of marble. This can add a touch of luxury and sophistication to your room. Use colors that are similar to natural marble, like beige and creams. Start with a primer, then use a dry brush or cheesecloth to create veins. Dabbing a natural sponge over the surface will add depth. This takes time and is best used on a smaller wall, e.g. B. in a niche or on a column. Apply varnish to the sealer, then dust it with French chalk and buff it to give the wall a shine.
Finished paintwork:
It is now possible to purchase a number of special effect paints that create a variety of techniques. This is the easiest way to get the look you want, but these colors are often expensive. You can try colors that are metallic, chrome, stone, or bright. You can also buy paint that turns a wall into an instant chalkboard, a real winner in the nursery.
Stripes and Borders:
Use strips of paint for a bold look by putting strips of tape on the wall and painting the gaps between them. In the same way, you can also use curved tape to create a ripple effect. Similar to graining, you can use horizontal or vertical stripes to add or extend the look of a room. Borders are easy to achieve with a contrasting color – try a border in the center of a room or a border away from the ceiling for a different look.
The possibilities for wall painting techniques are endless. Try one of the suggestions here or use your imagination and create something unique. With time and effort, the results can be amazing. Why not give it a try!