 Flower Love

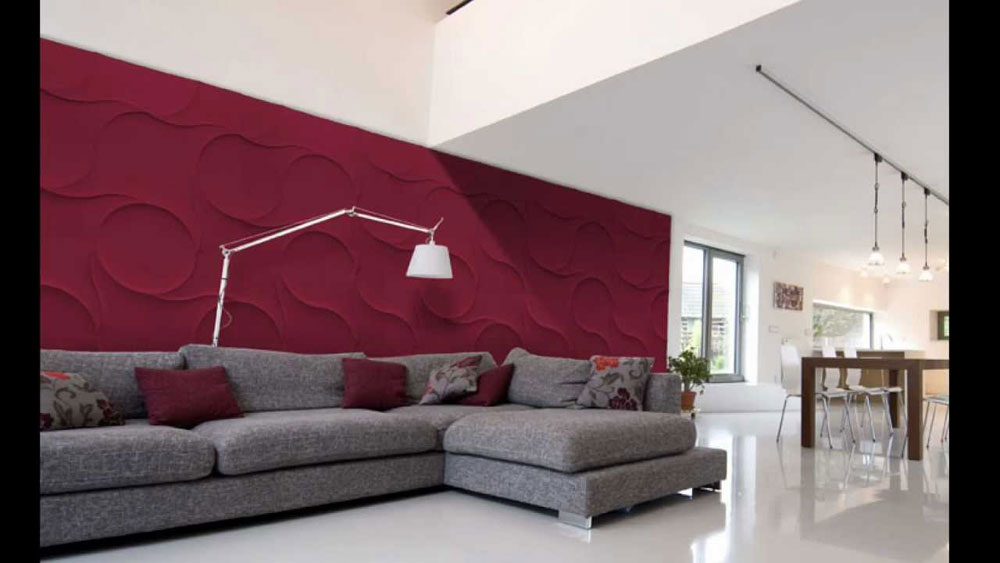
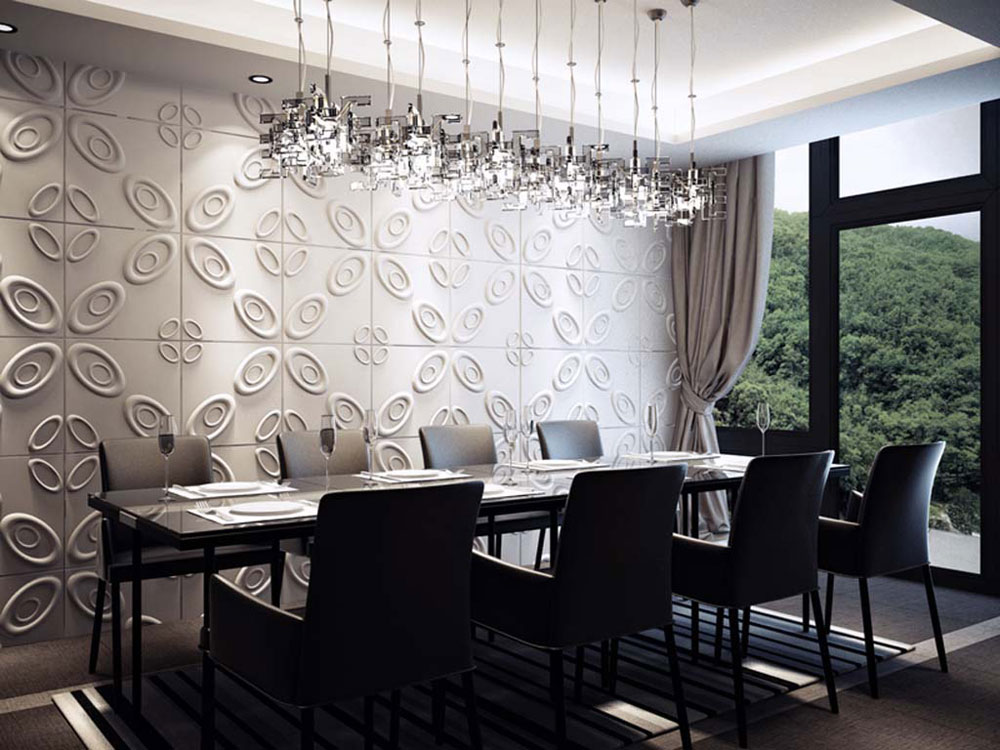
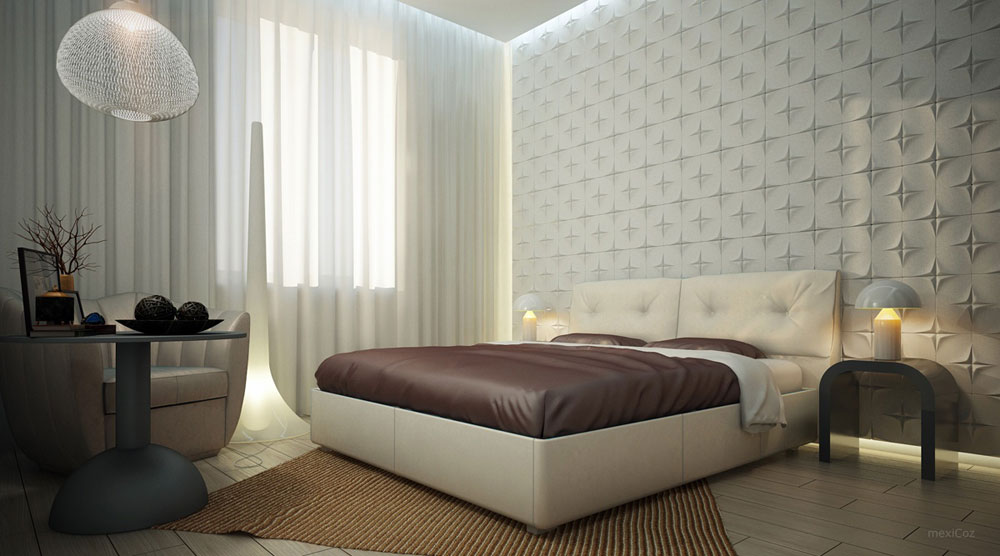
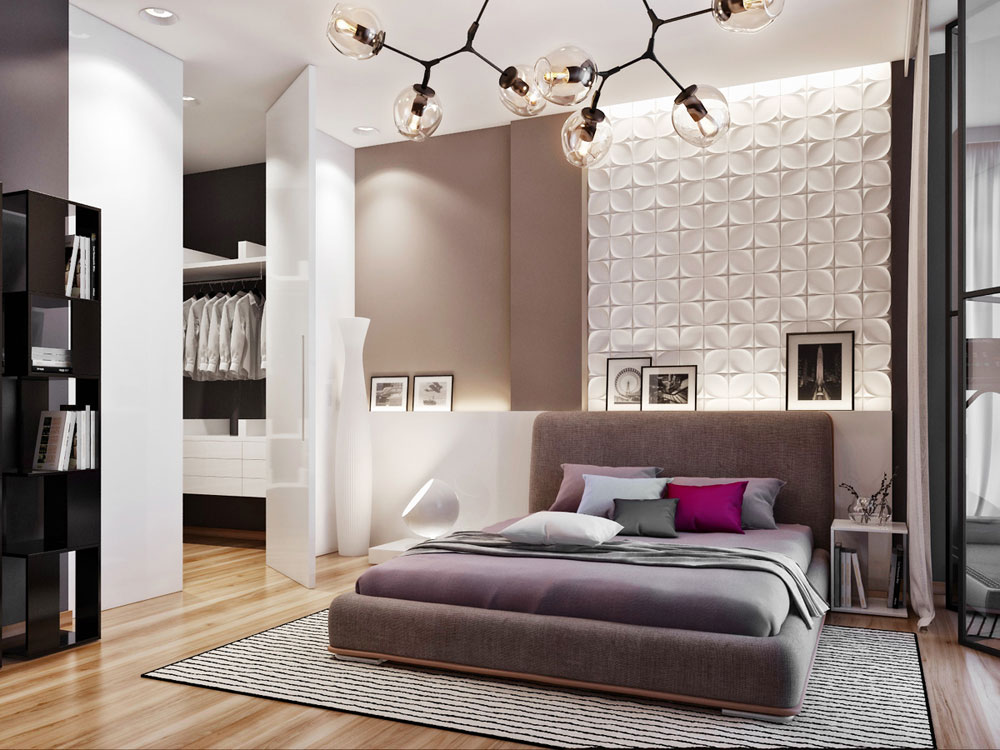
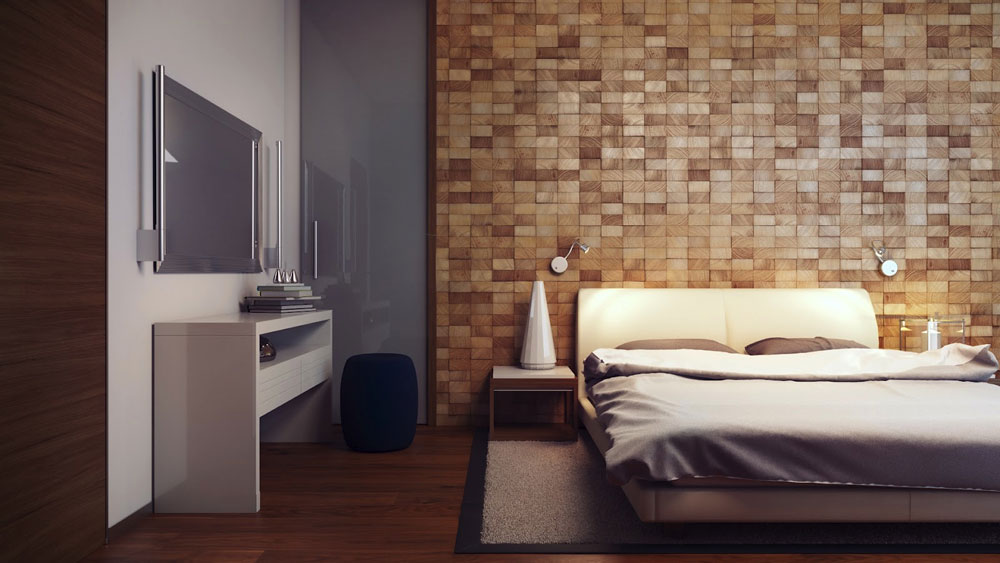
If you decide to structure the existing walls in your home. In the end, you achieve some good things. What good things are these? The first thing you achieve is very obvious. The first is to turn boring-looking surfaces into something much more exciting.
The same walls magically transform into pitted, pointed and very visually appealing objects of intense interest. The second thing you do with texturing walls is to hide any imperfections on the walls themselves. This saves you the extra hassle of repairing twelve different things.
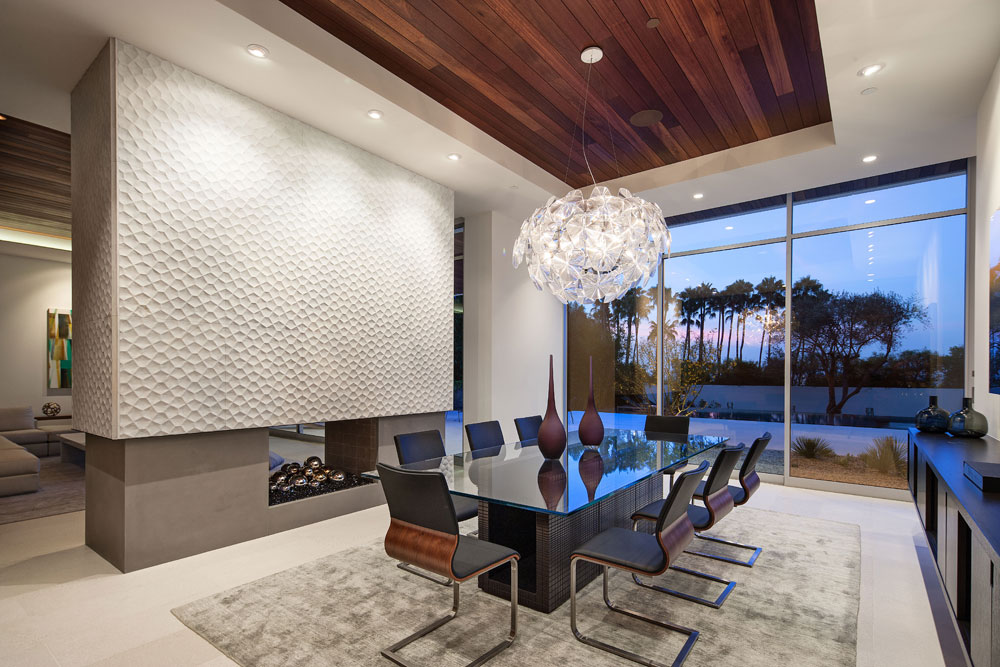
Restructuring walls adds something else. This is a great way to add overall personality to home decor. Retexturing a house used to be the domain of professional painters only. However, there are now a number of viable tools available from hardware stores that make restructuring walls an on-going chore for any home.
Objects like whisks, combs, and sponges can be used for finishing touches on walls. We’ve rounded up some great ideas here to help you turn any retexturing plan into a really wonderful DIY project and save money. A person can have some fun doing it too.
What is spraying?
Spraying is one of the texturing wall techniques for applying wall textures. It is special in that it creates a number of very distinctive patterns. This isn’t the only way to give your walls the character they need. There are many texture wall techniques that work very well. Similar texture patterns can be achieved with a paint roller, very different ones that include a mud knife and even an old paintbrush.
In many cases, even an ordinary drywall grout computer can and will be used as the source of textural material, which is very suitable. It must not be thinned out to achieve certain patterns and give it more body. Just add a small amount of sand or mica to it. Before texture can be painted. It needs to be primed first.
When you want to structure a large wall or all of the walls in an existing room. You should rent a drywall sprayer first to get this done properly. This drywall texture sprayer is powered by compressed air and has a gun-like nozzle as its main feature.
This sprayer is great for covering surfaces with grout. It creates a variety of looks. Some of these looks incorporate the current “popcorn” texture.
The type of patterns a sprayer creates depends on three variables. These three variables are the type of connection used. The particular nozzle that will be selected and also the amount of air that will propel the mud in total. It never hurts to experiment from the start. This connection is very easy to wipe off. This can be done when you end up with a texture that you don’t like at all.
The only thing you need to know beforehand about using a sprayer in a home that is outfitted with nice furniture and finished floors is this. Please make sure everything is safely covered. That’s because you don’t want mud to get over everything.
How to texturize with a roller?
You need to make sure that you are creating an eggshell or a heather texture pattern. This can be done with the help of a paint roller and drywall grout. Mix the drywall grout along with water in a 5 gallon bucket. If you want to create an eggshell pattern, you can do so by mixing the drywall grout with a mixture very similar to a thick paint in description.
If you want an irregular type of pattern it can be made with more body by having the same consistency as honey. After it is mixed, you should proceed to pour the diluted mixture into a painting bowl.
A thick nap roller can be loaded by simply sliding it over the mixture itself. Avoid saturating the roller.
Go ahead and roll it over the wall. You should be careful to apply moderate pressure and
move the roller in a very smooth direction.
This is just what you need to create the perfect eggshell pattern. If you want to create a pattern that is a lot bolder you can, but you have to
Apply only light pressure and move the platen in numerous directions.
You should then let the texture dry properly. This must be done first. It comes before the actual priming and painting takes place.
What is drywall mud?
There is another very easy way to structure walls. It’s called drywall mud. Dry stone sludge helps to simulate a so-called stucco finish. It’s a virtually fail-safe method that will give many great results for the average home improvement.
This is done by applying tape or grout to the walls with the help of a trowel or some form of wide bonded knife. The next step is to put a sponge into the joint. The sponge is then placed against the walls repeatedly. This creates an overall structure that is visually appealing. Additional compound can be dabbed on here and there. Let the joint dry completely before attempting to paint.
This joint tape compound is also known as drywall mud. Drywall mud can be bought at a hardware store. The walls should be completely clean and dry before applying this tape mass. The joint tape should be slightly watered down. This is supposed to give it a consistency that can be compared to a thick pancake batter mix.
The only thing homeowners like about working with this common tape paste is this one. If the connection is not positioned correctly or if too much of it is accidentally applied. The connection can simply be wiped off. A person can then start again from point A.
There is another way to apply joint tape or drywall mud. This is done using a notched trowel. What is a notched trowel? It’s something that is used to scan a plaster wall. A squeegee can also be used. What is done with this trowel or squeegee is this.
A series of notches is cut. Any of these tools can be used to create a line pattern along the length of the wall surface itself. Work in one direction first and then in the perpendicular direction. The mud should be spread so that it resembles a hatched pattern that is created. The pattern should look like that of woven material that can be viewed up close.
Structured color
Texturing walls with a roller doesn’t seem that easy. However, once you get the hang of it, this can become second nature. There are a large number of large paint manufacturers that have a full range of textured paints. Some of these textured colors can look pretty much like drywall mud. However, they are much harder to remove and also require a great deal of precision.
For example, if textured paint is applied, it must be applied particularly quickly to the entire surface. This is because the fur dries pretty quickly. You don’t want one area to dry faster than the other. This is because visible rigid lines can be formed at the intersection.
How to texturize with a drywall knife?
* Use a drywall knife and all-purpose grout straight from the container. It is possible to make a Spanish knife, knockdown, or even a swirl pattern. The connection should be distributed in straight and even strokes. It should then be scraped across the surface with a drywall knife to create a Spanish knife pattern.
* Take the drywall knife and squirt the grout on the wall. Scrape off any splashes flat and create a knockdown pattern. You can either scratch in a steady or random direction. It all depends on what you want the pattern to look like.
* If you want to create a swirl pattern, there is some way to scrape the grout off. One way of doing this is to make a circular motion. When you apply a grout with an old brush to create an interesting shape of the swirl pattern. A swirl pattern can also be created by scraping a comb over a layer of the grout that has been applied with a drywall knife.
* Let the texture dry out completely before painting. If the fur is thick, it can take up to 48 hours to dry. It depends on the conditions in the room itself.
Regardless of what texture wall techniques you choose to use, make sure you don’t repeat yourself and create the same shape over and over again. Each professional textured finish contains a random textured pattern. This is something that is designed to be a full and great DIY project on all fronts. This is because many people find it difficult or near impossible to create intricate patterns instead of just creating random textures!
So try it for what it’s worth. Have a lot of fun!