Flower Love

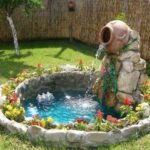
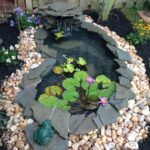
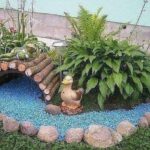
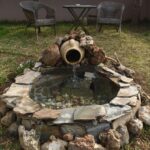
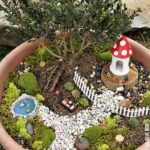
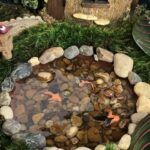
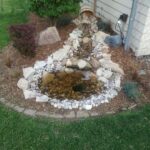
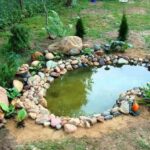
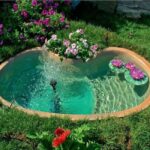
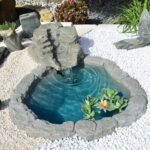
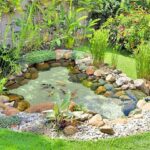
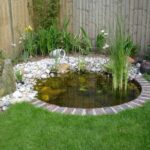
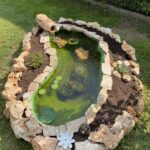
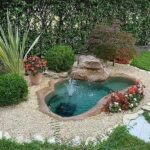
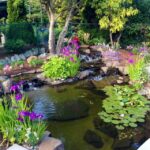
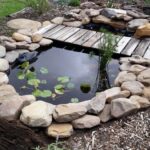
A pond is the perfect way to attract wildlife to your garden, from frogs, toads and newts to hedgehogs, birds and aquatic insects. Ponds are also beautiful to us, and provide a relaxing place to sit on a sunny afternoon. Ponds are fascinating to children – supervised pond dips are the perfect way to teach them about the lives of amphibians and other animals.
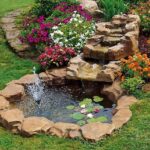
Start your pond by marking the position on the ground. Use a garden hose for an informal pond, or sticks and string for formal designs, as in our example below. When calculating the size of the liner for your pond, measure the length and multiply it by twice the depth, adding 15 cm for an overlap. Repeat this for the width to get the required size.
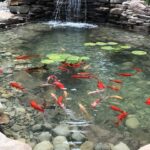
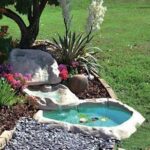
Plant your garden pond with native pond plants such as hornwort, water forget-me-not and brook lime, and fill it with rainwater if possible. Your garden wildlife will find it in no time.
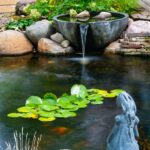
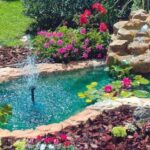
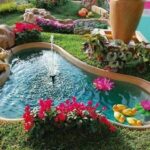
Want to plant your pond? here, Monty Don demonstrates how to plant a pond with a variety of deep water and border plants, including water hawthorn (Aponogeton distachyos), pickweed (Pontederia cordata) and flower rush (Butomus umbellatus). He shows how to position each plant and explains why they must be grown in water baskets:
Step 1
Dig a hole 45 cm deep. Knock in 60 cm long sticks around the edges and screw 2 cm thick fastening boards to them. Frame the edges with timber, screwed to the top of each stick.
step 2
Use a spirit level and long plank to check that all sides of the hole are level. If they are not, the liner will show and ruin the look of your pond.
Step 3
Add extra soil to one side of the hole to create a long, sloping edge shelf. Attach this with the heels to ensure it is compacted, then shave level.
Step 4
Check the depth of your border shelf with your potted plants. The surrounding edge of the pond should be about 2-3 cm above the edge of the pot.
Step 5
Remove any sharp rocks from the soil, then line the hole with a protective substrate, such as geotextile liner or carpet offcuts.
Step 6
Place the dust liner over the hole and, with your shoes off, climb in and push the liner into each corner, folding it for a neater finish. Allow a 15cm overlap at the edges.
Step 7
Fill your pond, preferably with rainwater from your water butt. If you must use tap water, let it sit for a week before planting to allow the chlorine to evaporate.
Step 8
Once filled, trim the liner and base together, leaving a 10-15cm overlap. Fold over the corners ready to be fixed to the planks.
Step 9
Lay lengths of plank across the four edges of the pond, parallel to the sides. Mark and cut where the planks overlap.
Step 10
Cut to size and then drill through the deck edge and liners into the edge frame, underneath. (Use a ground fault breaker to be safe.) Pull the liner taut to create a neat finish, then secure the planks with long brass screws.