
Transform Your Outdoor Space: The Ultimate Easy DIY Backyard Patio Installation Guide
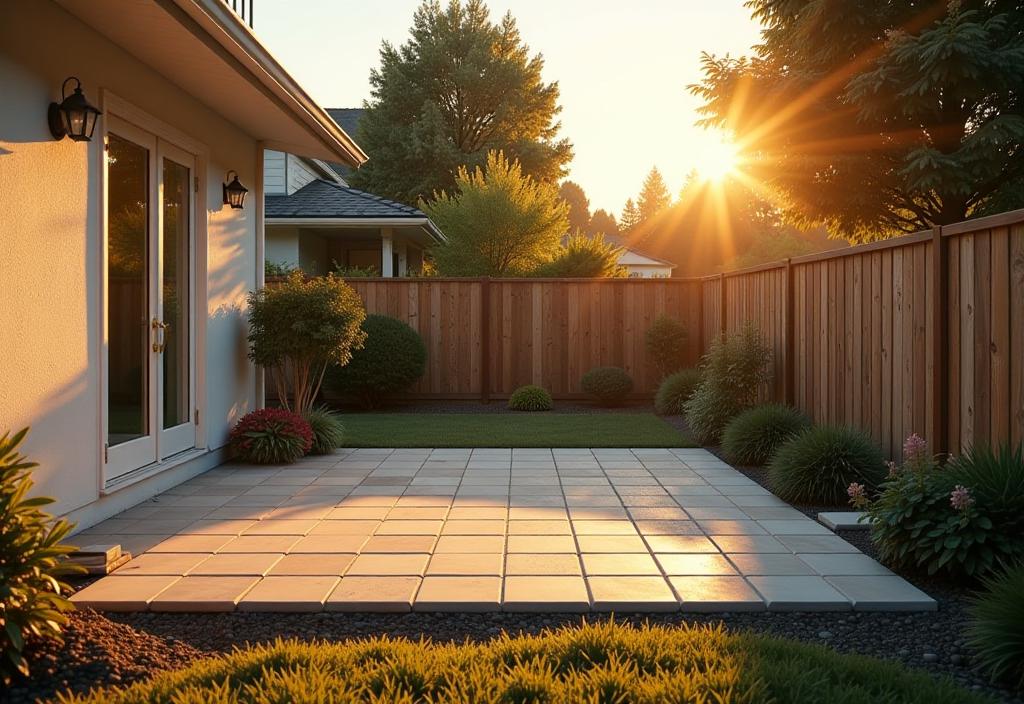
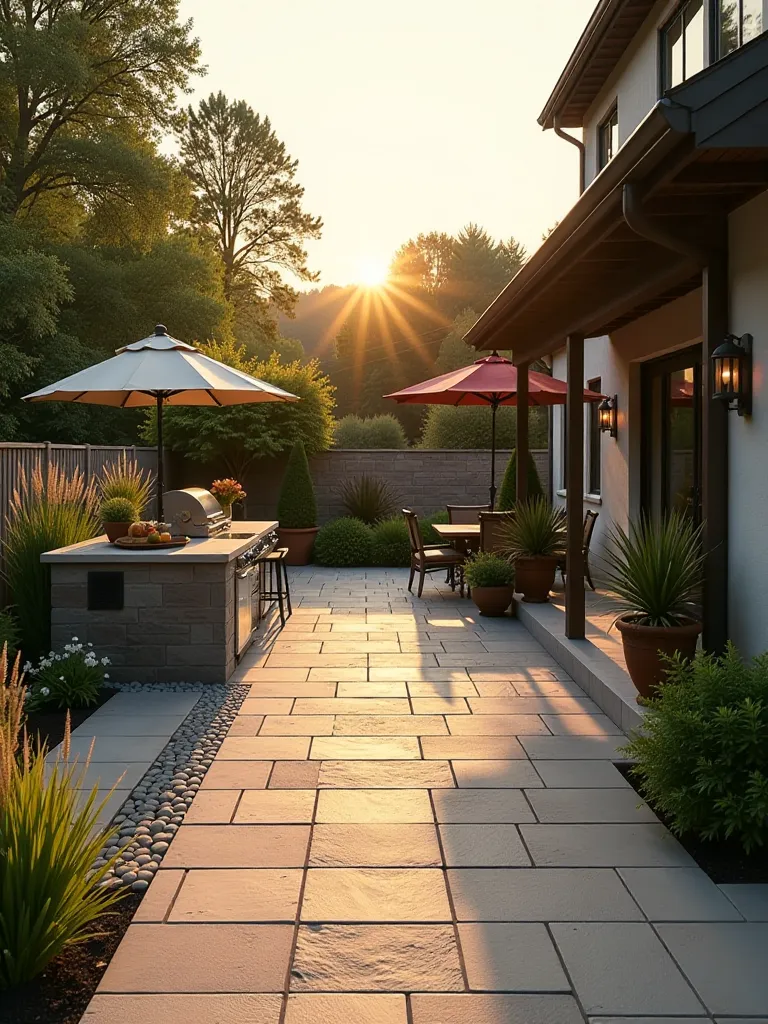
Imagine stepping into a serene morning, where the first light gently illuminates your backyard, revealing a beautifully crafted patio that invites relaxation and connection with nature. The fresh scent of nearby evergreens blends with the aroma of your morning coffee as you enjoy your personal outdoor sanctuary. This vision is entirely achievable, regardless of your location, with the right approach and preparation.
Welcome to your definitive DIY backyard patio installation manual. Just as vast wilderness areas hold hidden treasures, your outdoor space is brimming with potential to become a stunning retreat that harmonizes natural beauty with thoughtful design. Whether you reside in a chilly northern region or a warmer southern climate, this guide will empower you with the expertise to create a patio that complements your lifestyle and environment.
Throughout this guide, we’ll explore the parallels between crafting your patio and the intricate balance found in natural ecosystems. Every phase of your project, from planning to finishing touches, plays a vital role in shaping a durable, attractive, and eco-friendly outdoor living area.

Strategic Preparation: Laying the Groundwork for Success
Before you begin the physical work, it’s essential to develop a clear plan. Think of this as charting a route through unfamiliar terrain-your blueprint will guide every decision and ensure your patio fits seamlessly into your yard’s existing features.
Start by measuring your available space with precision, considering how the patio will interact with your home and garden. Will it serve as a lively gathering spot or a quiet nook for reflection? Sketch your ideas, keeping in mind the flow of movement and natural light throughout the day.
Selecting the Ideal Spot
Choosing the right location is crucial. Aim for a site that balances sunlight and shade, much like a well-chosen campsite that offers comfort and protection. Proximity to your home enhances convenience, while avoiding low-lying areas prevents water pooling and potential damage.
Understanding Local Regulations
Before breaking ground, check with your local building authorities to determine if permits are required. Navigating these regulations may seem daunting, but securing the necessary approvals ensures your project complies with safety standards and avoids future complications.
Material Choices: Building Blocks for Your Patio
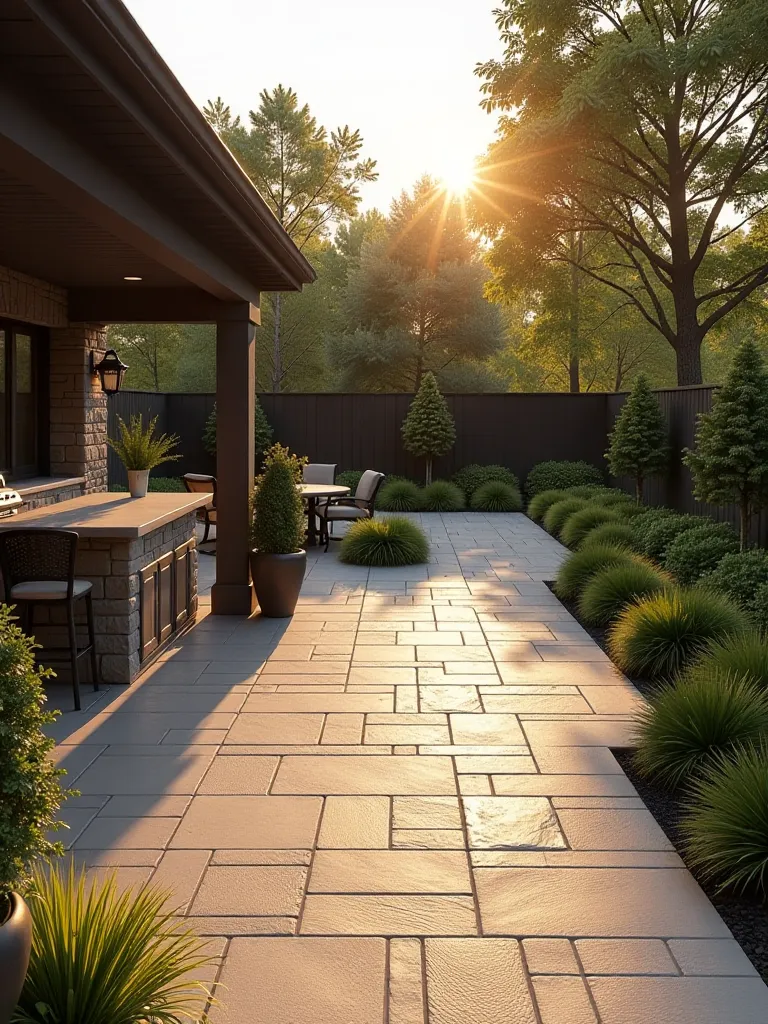
Picking the right materials is akin to selecting the perfect stones to cross a flowing river-each option offers distinct benefits and challenges. Popular choices include concrete, brick, and natural stone pavers, each bringing unique textures and aesthetics to your outdoor space.
Concrete pavers provide a sleek, modern look and are relatively straightforward to install. Brick pavers add warmth and timeless charm, reminiscent of classic architecture. Natural stone offers an organic, rugged appearance that blends beautifully with natural surroundings but may require more skill to install.
Balancing Durability and Budget
Consider the longevity and maintenance needs of your chosen materials. Concrete pavers typically last around 25 years with proper care, while brick can endure even longer. Natural stone, though often pricier, offers exceptional durability. Investing in quality materials upfront can save money on repairs and replacements over time.
Color Coordination
Choose colors that complement your home’s exterior and the natural hues of your yard. Incorporate contrasting borders or patterns to add visual interest, much like the vibrant colors of a sunset painting the sky. Test samples in different lighting conditions to ensure your selections create the desired ambiance.
Preparing the Site: Establishing a Solid Foundation
Marking your patio’s perimeter is the first step in transforming your vision into reality. Use stakes and string to outline the area, verifying measurements to ensure symmetry and accuracy.
Clearing and Leveling
Remove grass, rocks, and debris within your marked boundaries. Level the ground using a rake, then compact the soil with a plate compactor or hand tamper to create a stable base. This process prevents future settling and maintains the integrity of your patio.
Installing Edging
Edging materials, such as plastic or metal, act as barriers that keep your pavers securely in place. Properly installed edging maintains the shape of your patio and prevents shifting, contributing to a polished, professional appearance.
Installation Process: Bringing Your Design to Life
Begin by spreading a 3-4 inch layer of gravel or crushed stone over the compacted soil. This base layer provides drainage and stability. Use a rake to level the gravel evenly, then compact it thoroughly.
Adding a Sand Layer
Next, apply a one-inch layer of sand over the gravel. Use a screed board to smooth the surface, then compact the sand to create a level bed for your pavers. This cushion helps prevent shifting and unevenness.
Laying the Pavers
Start placing your pavers from one corner, working methodically across the area. Use spacers to maintain consistent gaps, ensuring a uniform pattern. For edges or obstacles, carefully cut pavers to fit, maintaining clean lines and a professional finish.
Finalizing Your Patio: Enhancing Beauty and Longevity
Secure your pavers by sweeping fine sand into the joints, filling gaps to lock them in place. Repeat this process over several days as the sand settles, ensuring stability and durability.
Sealing for Protection
Apply a high-quality sealant to shield your patio from moisture, stains, and weathering. This protective layer extends the life of your installation and preserves its appearance.
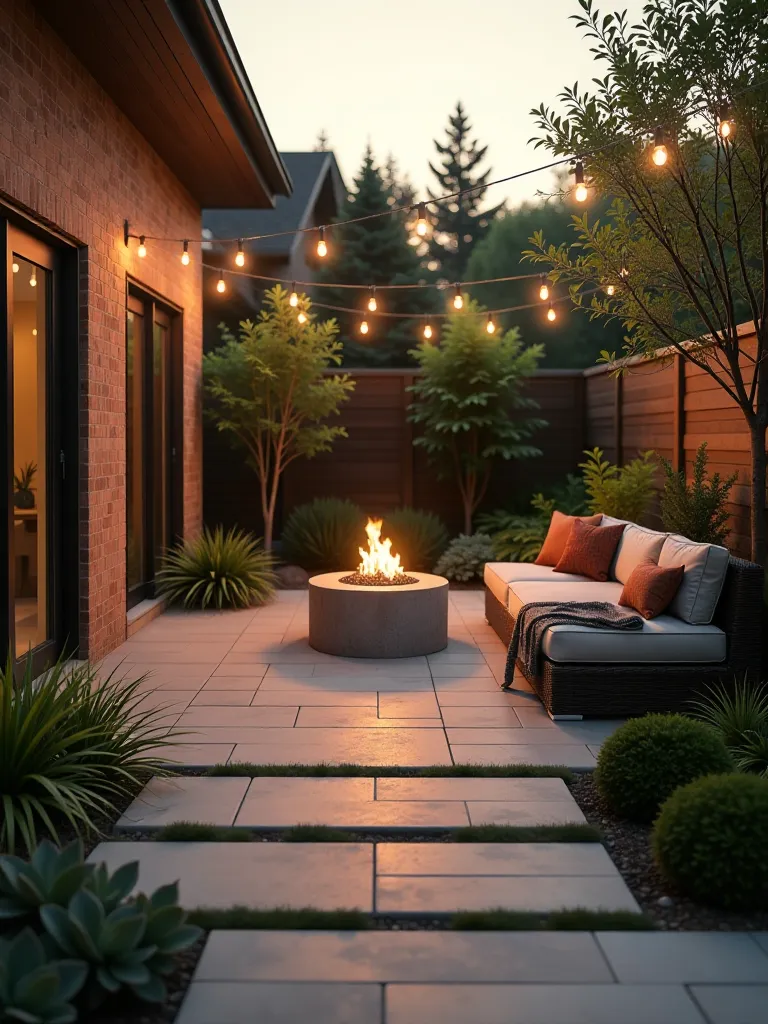
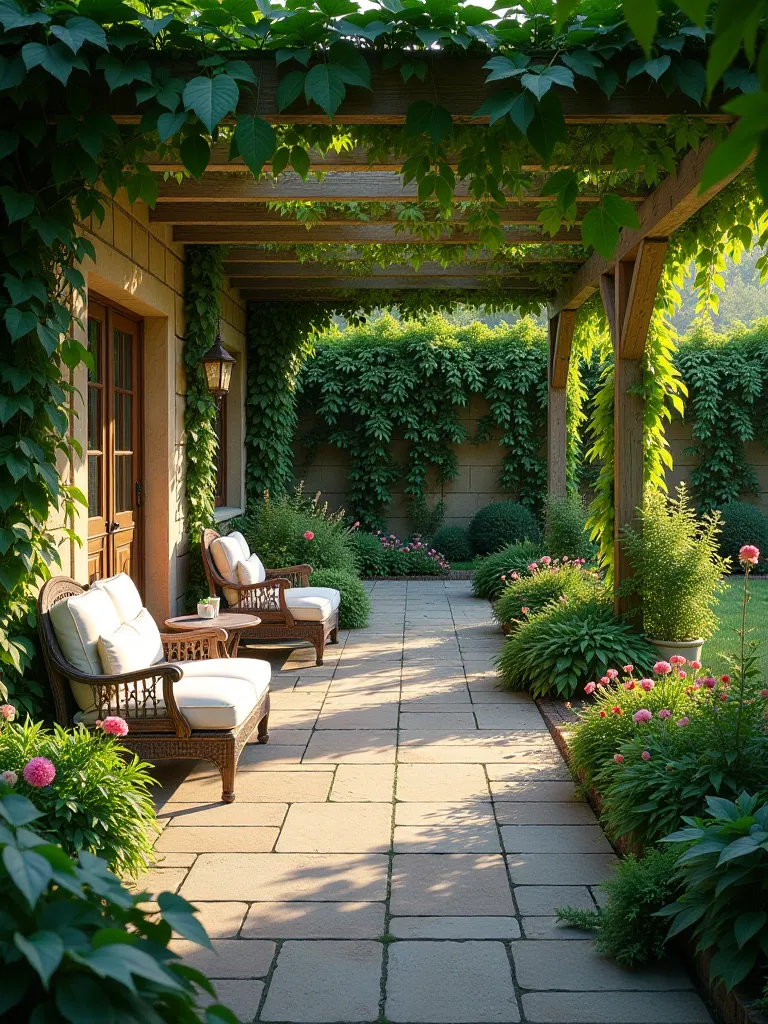
Personalizing Your Space
Complete your patio with thoughtful touches such as outdoor lighting, planters filled with native plants, and comfortable patio furniture. Consider adding a fire pit or water feature to create ambiance and extend usability into cooler evenings.
Conclusion: Enjoying Your Outdoor Sanctuary
Completing your DIY backyard patio installation is a rewarding accomplishment that transforms your outdoor area into a versatile and inviting retreat. This space will serve as the backdrop for countless memories, from lively gatherings to peaceful mornings.
Maintain your patio with regular care to ensure it remains a beautiful and functional extension of your home. Like the enduring landscapes that inspired this guide, your patio will stand the test of time, reflecting your dedication and creativity.
Step onto your new patio and savor the satisfaction of having crafted a space that blends comfort, style, and nature. Your outdoor haven awaits, ready to enrich your lifestyle for years to come.